


How to use Culture Shock ready to use liquid culture (LC)
This sterile, ready to go liquid culture media makes expanding your mycelium super easy.
No pressure cooker required!
Before you start
Have a shower
I can literally smell you from here, your friends are too nice to say anything. That was a joke. However your body is a big source of disgusting contamination, so cleanse it and pop on some fresh clothing.
Close the windows
Airborne contam is an issue when doing inoculations of any type. We don't want some piece of shit mould riding in on the tip of your syringe. Close windows and door whilst working.
Clean surfaces
Using 70% isopropyl or surface bleach spray, wipe down your work surface.
Spray onto a paper towel rather than spraying directly on to the surface.
Aseptic Technique
SOME OF THE FOLLOWING TECHNQUES REQUIRE A STILL AIR BOX OR FLOW UNIT.
Quality testing LC / spore solution
Basically the same process as above. But this time we are monitoring the outcome for contamination rather than just growing mycelium.
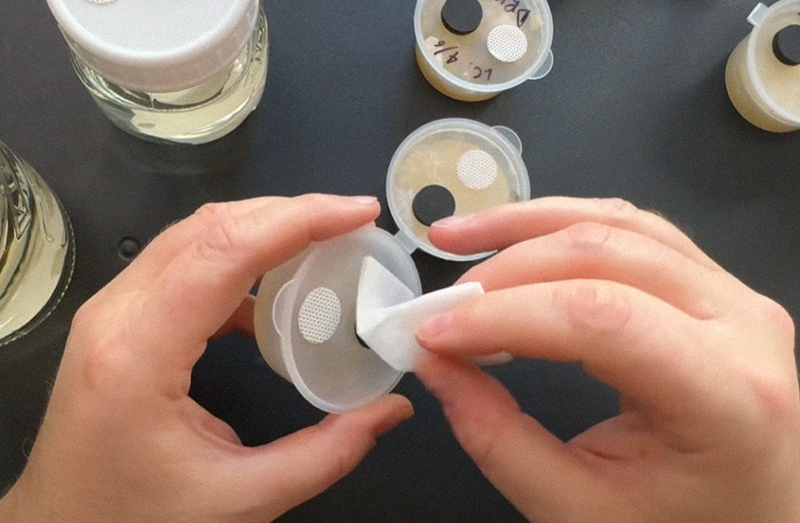
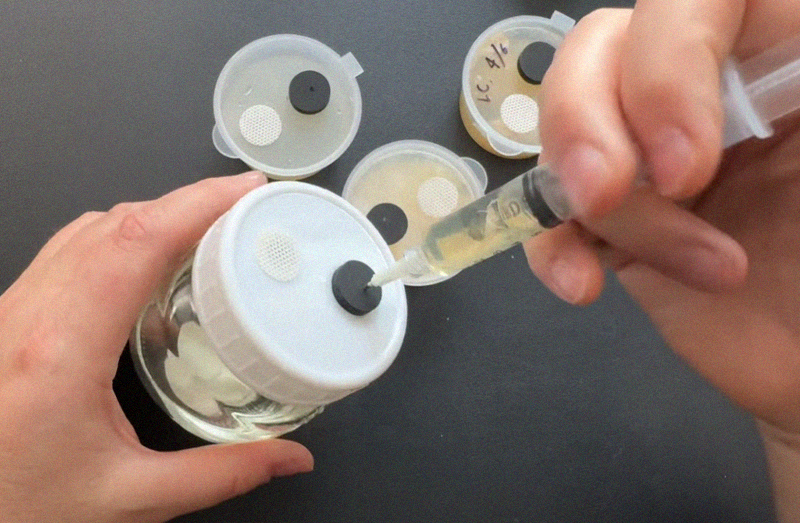
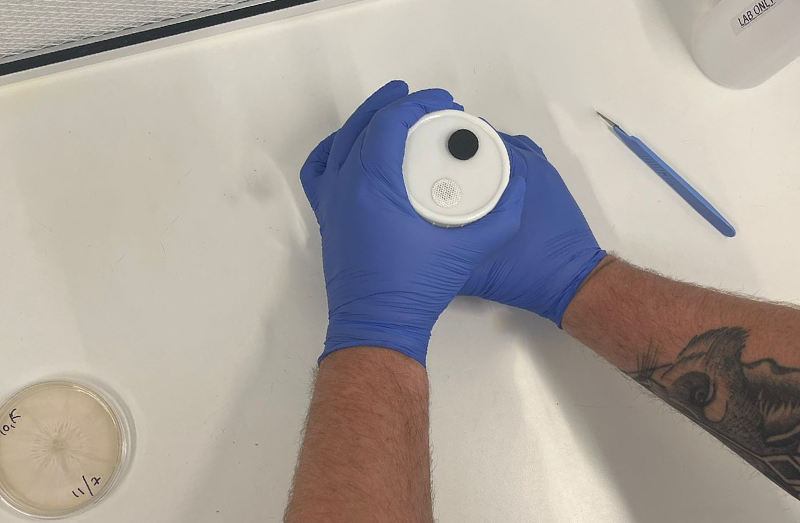
Wipe the port
Using your wipe, give the black injection port a wipe.
Allow the port to dry before inoculating.
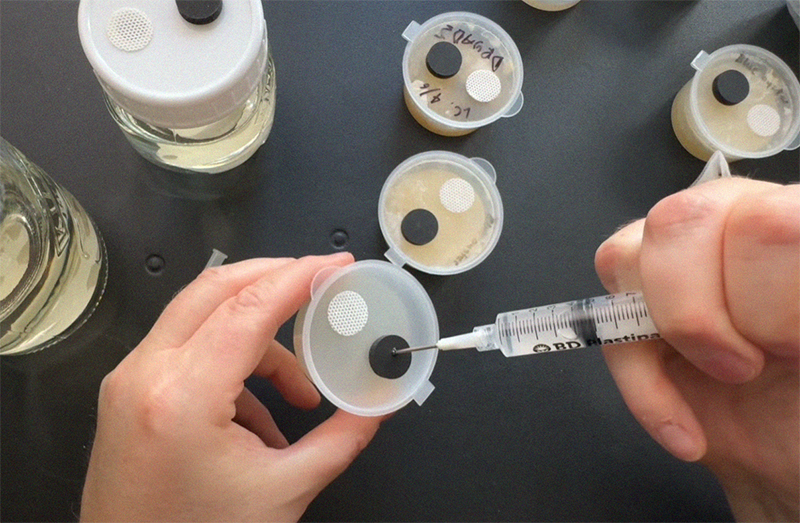
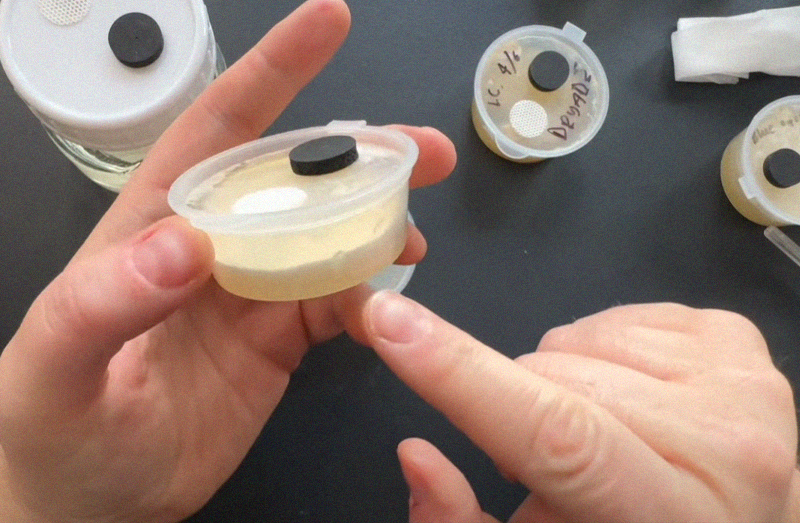
Inoculate
Slowly push your spore syringe (with a fresh sterile needle) into the centre of the port enough to clear the port but not so far as to touch the agar surface.
Carefully inject a few drops onto the surface of the agar and remove the syringe.

Label & incubate
Label your pot with the date and note which species / phenotype you have in there.
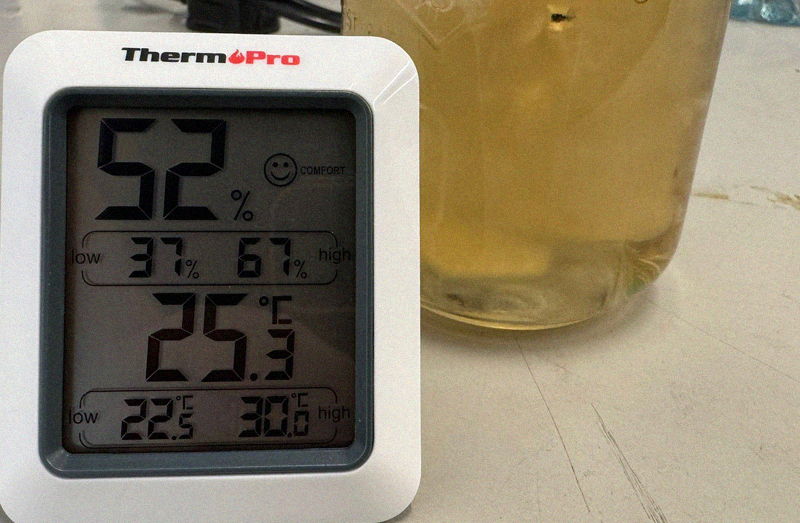
Find a nice warm place like your airing cupboard to incubate your spores.
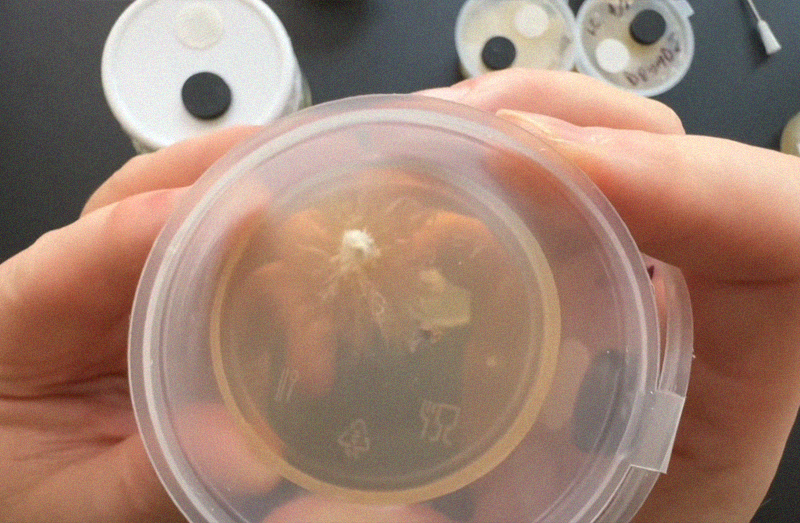
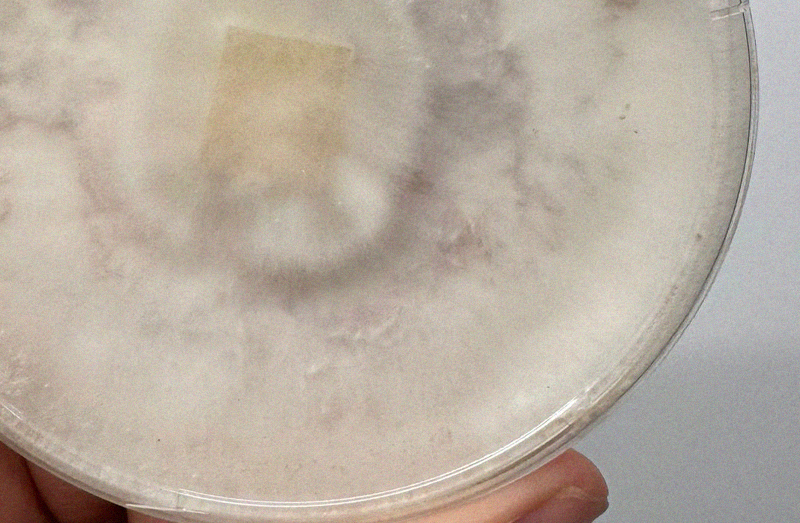
Check results
After about a week you should start to see mycelium growing inside your pot! If things look odd you can see our quick guide to common contam below.
*Don't open the pot btw, I only opened it in the photo so you can see what's going on!
Expanding a liquid culture
Super simple, no SAB or Flow Unit required.
You will need:
- A liquid culture syringe
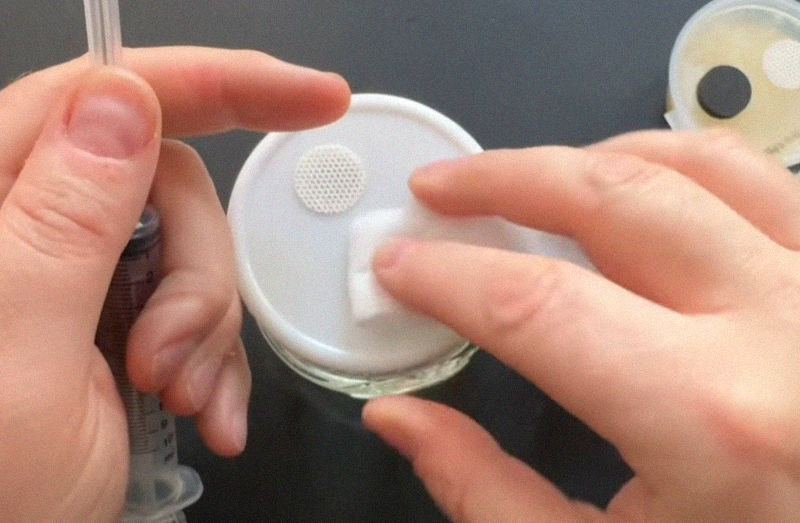
Wipe the port
Using your wipe, give the black injection port a wipe.
Allow the port to dry before inoculating.
Quality testing the syringe
Wouldn't it be disappointing if you transferred a syringe full of bad things into your jar of sterile media. You can use one of our agar pots to check your LC before wasting a big old chunk of time and effort.
Trust me, it's worth it.
Inoculate jar with liquid culture
Using a fresh needle, gently inject a full syringe of liquid culture into your jar.
Do this slowly as the additional air pressure could pop the port off.
You can use less but it will take longer to colonise.
Label & Incubate
Find a nice warm place like your airing cupboard to incubate your liquid culture.
Check the pot daily and swirl the liquid to speed up colonisation or use a magnetic stirrer.
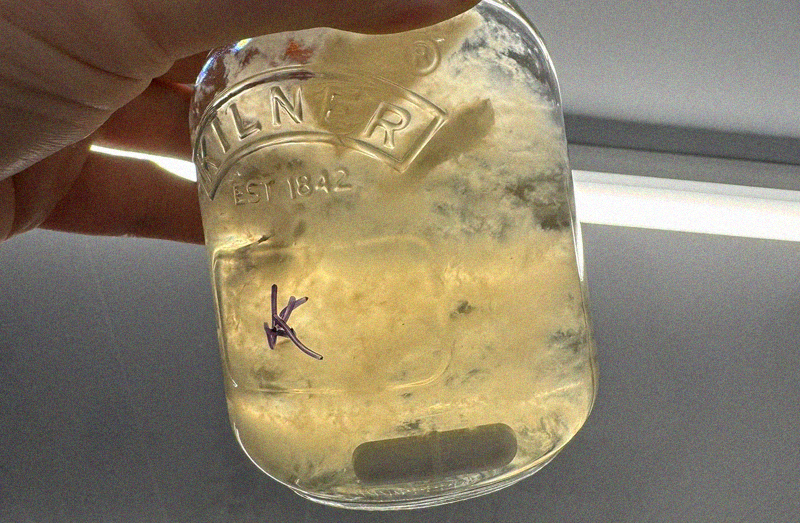
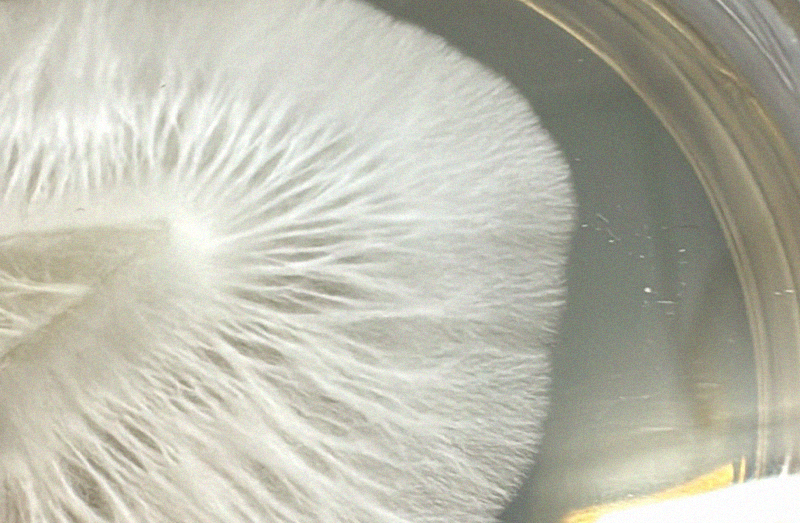
Visual Check
After a week or two you should have visible mycelium suspended in your liquid culture media! Hold it up to a light to give a visual check for obvious contamination.
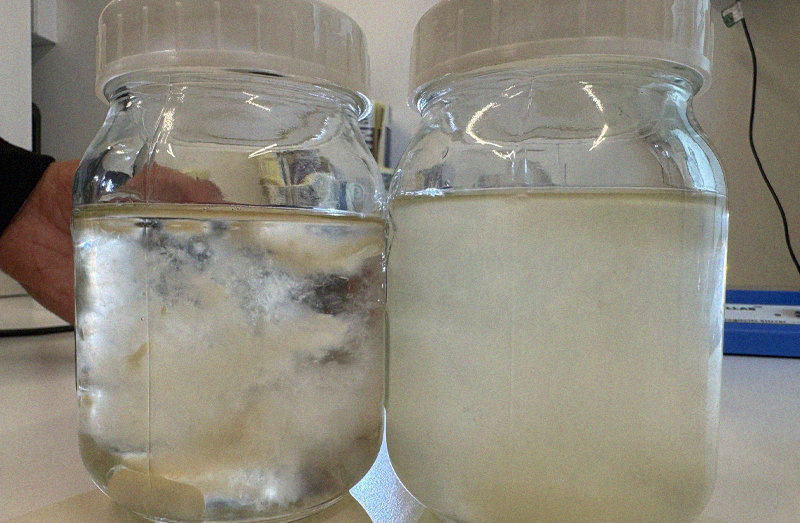
Bacterial contam! 🦠
Your liquid culture should not be cloudy as this indicates bacterial contamination. Note the left jar is clear liquid with suspended mycelium the right is bacterial as heck.
Quality testing
Before you use your liquid culture, run it through the quality testing workflow we outlined above. This will save you a lot of wasted time and energy!

Well done
You have unlocked a new mycology technique. You are now ready to draw up some LC and make some syringes for your friends and family.
I'm proud of you.
Spores > Agar Pots > Liquid Culture
We cover this in our agar pots instructional
Agar Plates > Liquid Culture
For this process you will need the following:
- Still Air Box or Flow Unit
- Nitrile gloves
- Sterile scalpel
- Agar plate with mycelium
- Iso spray + paper towels
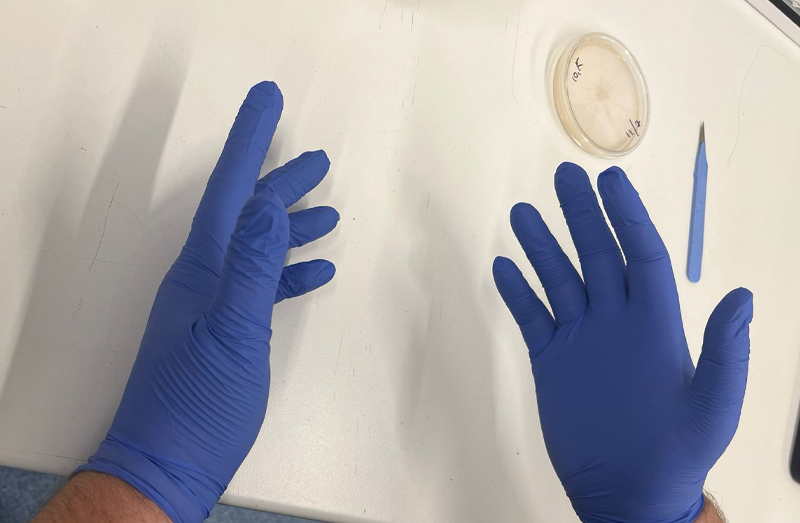
Wear gloves
Pop on your gloves and give them a liberal spray down with iso and allow them to dry before touching the items you are working with.
If you step away from your SAB or touch something non sterile, you should repeat this step.
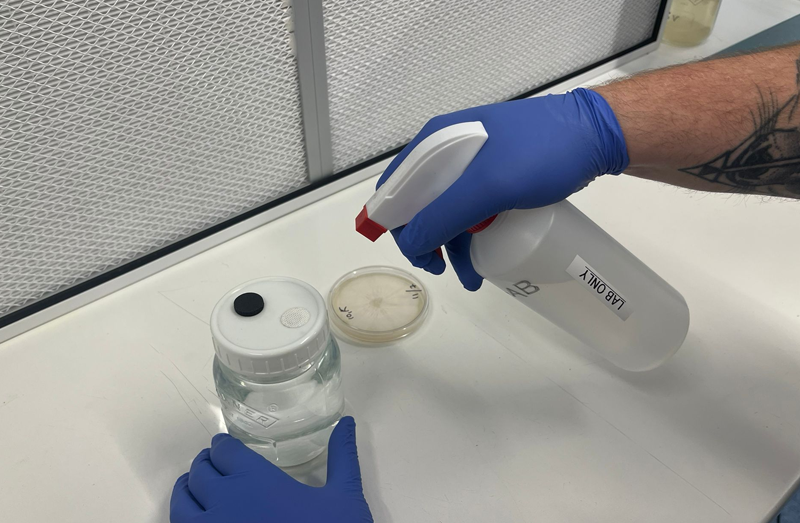
Spray down supplies
Gather all of items you'll need to keep clean inside your SAB in front of your flood unit. Give everything a good spray of iso (ideally saturate a paper towel and wipe down).
Allow to fully dry before using.
Finish what you started
This is not a stop start process. Try and be mindful of being clean and working from start to finish. This will give you a much higher success rate.
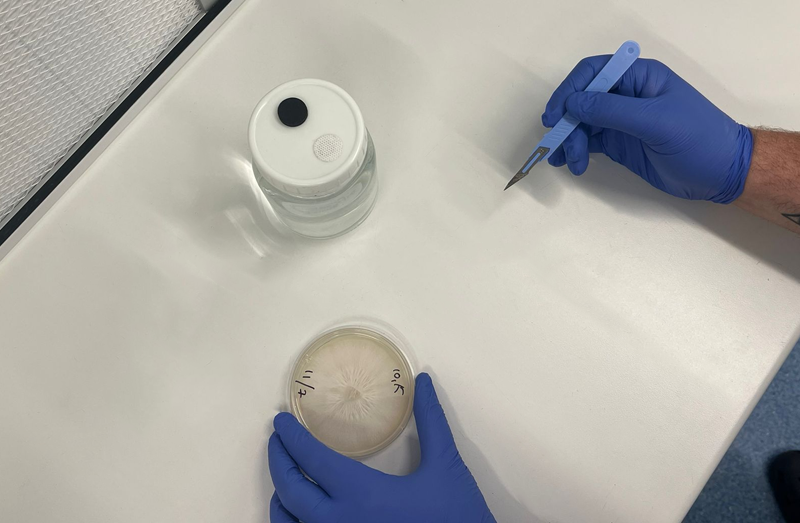
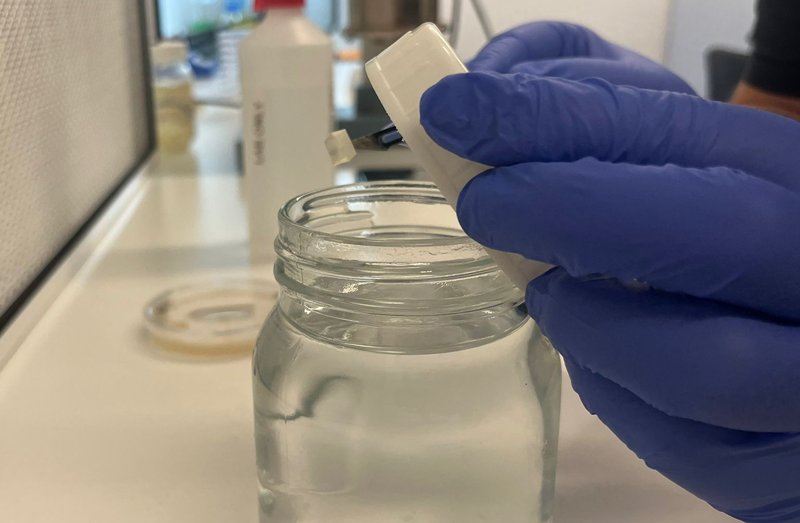
Loosen off the lid
Loosen off the lid of your liquid culture jar without removing it. The process of handing a piece of agar on the end of a scalpel tip and trying to open a tight jar isn't one worth attempting.
Remove parafilm from agar
Similar to your jar, we are gonna make that agar easily accessible so you aren't making your life more difficult than needed.
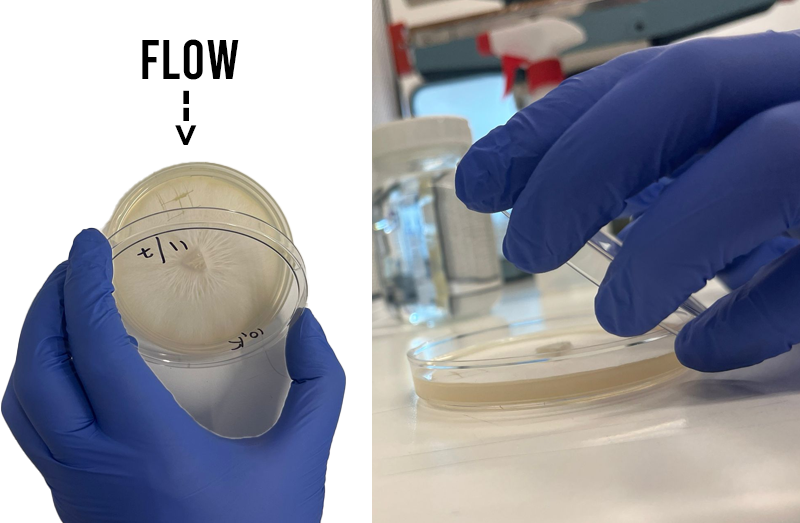
Workflow
Position items in your still air box or in flow in a way that will minimise contamination. You want to think about your hands / arms hovering unnecessarily above things you want to remain sterile.
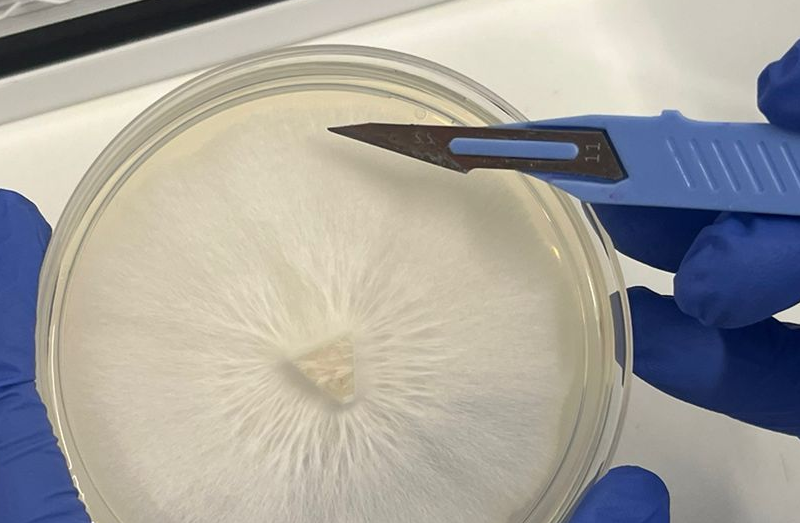
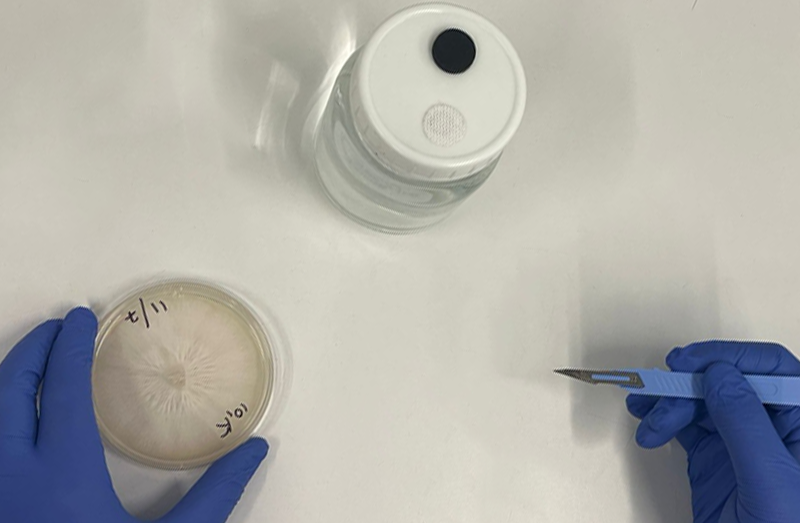
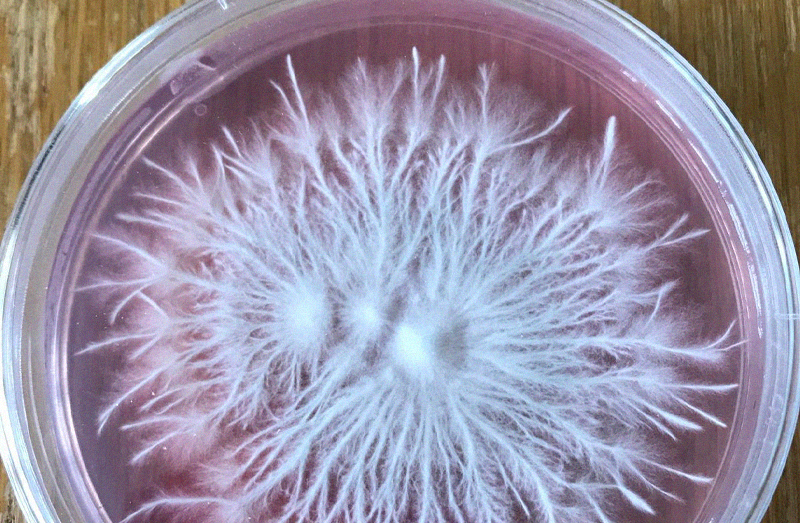
Cutting edge
When cutting into your agar you should manageable sections from the leading edge of the mycelium. This leading tips of mycelial growth are called Spitzenkörper (see below for info on that).
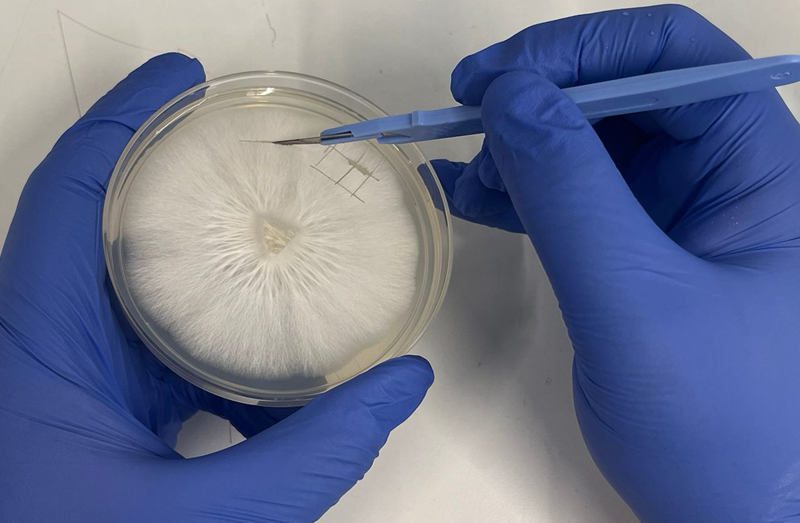
Keep it small
Your sections of agar shouldn't be too big otherwise you'll be unable to use a magnetic stirrer (the agar will knock the magnet off centre constantly). A few 1cm sections would be good.
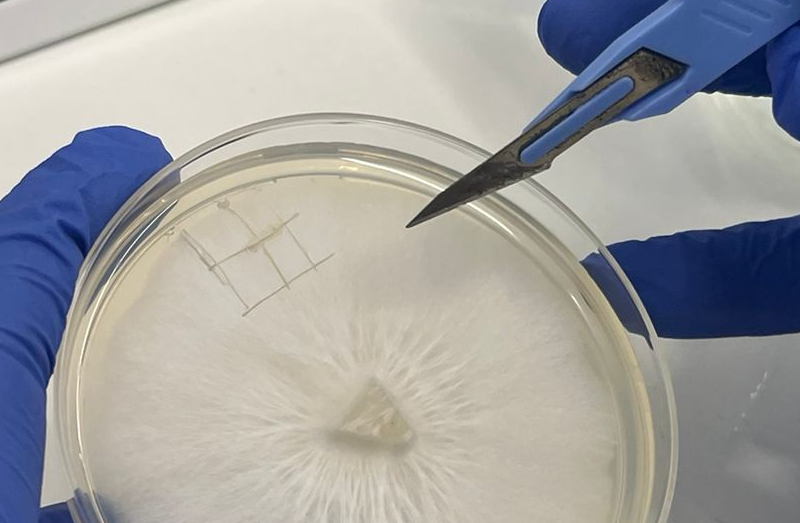
Cut first
Rather than doing many sections of agar one at a time. Cut the pieces you want to transfer so they are ready to just lift off the dish and drop into your jar.
Clam shield
When opening lids, use the lid as a sheild from potential contamination by opening towards clean air and away from contamination (like your face).
Transfer time
With one hand lift the petri dish lid and use the sharp tip of your scalpel to lift out your mycelium wedge and close the lid. Carefully lift the lid of your LC jar and drop in your wedges one by one. (I normally do 2 or 3).
Label & Incubate Jar
Find a nice warm place like your airing cupboard to incubate your liquid culture.
Check the pot daily and swirl the liquid to speed up colonisation or use a magnetic stirrer.
Seal your plate
Using parafilm, re-seal your plate so it can be re-used later.
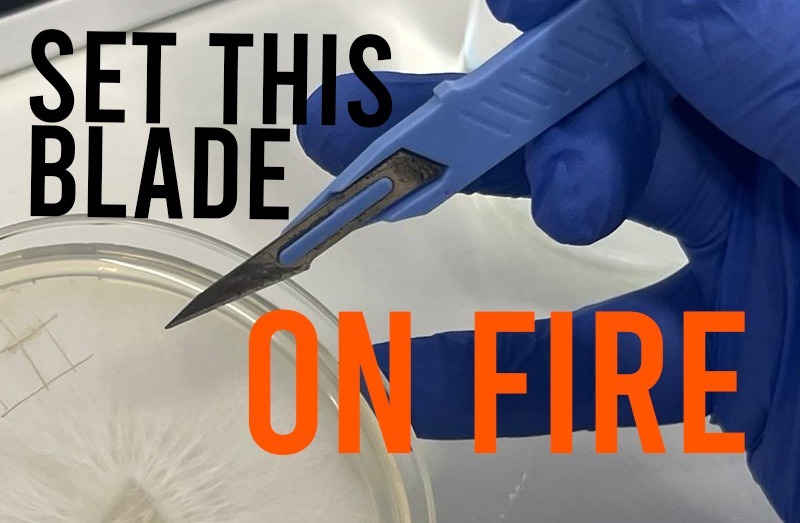
Flame your scalpel between plates
If you are working on a new agar plate next, remember to flame sterilise your scalpel blade in between transfers to prevent cross contamination.
Spitzenkörper
The Spitzenkörper (German [no shit] - for 'pointed body', SPK) is a structure found in fungal hyphae that is the
organizing centre for hyphal growth and morphogenesis. It consists of many small vesicles and is present in growing
hyphal tips, during spore germination, and where branch formation occurs. Its position in the hyphal tip correlates
with the direction of hyphal growth. - From Wikipedia

Need support along the way?
Things don't always look exactly as expected, if you want some advice or second opinions on anything at all, you can get help from our team and the community!