


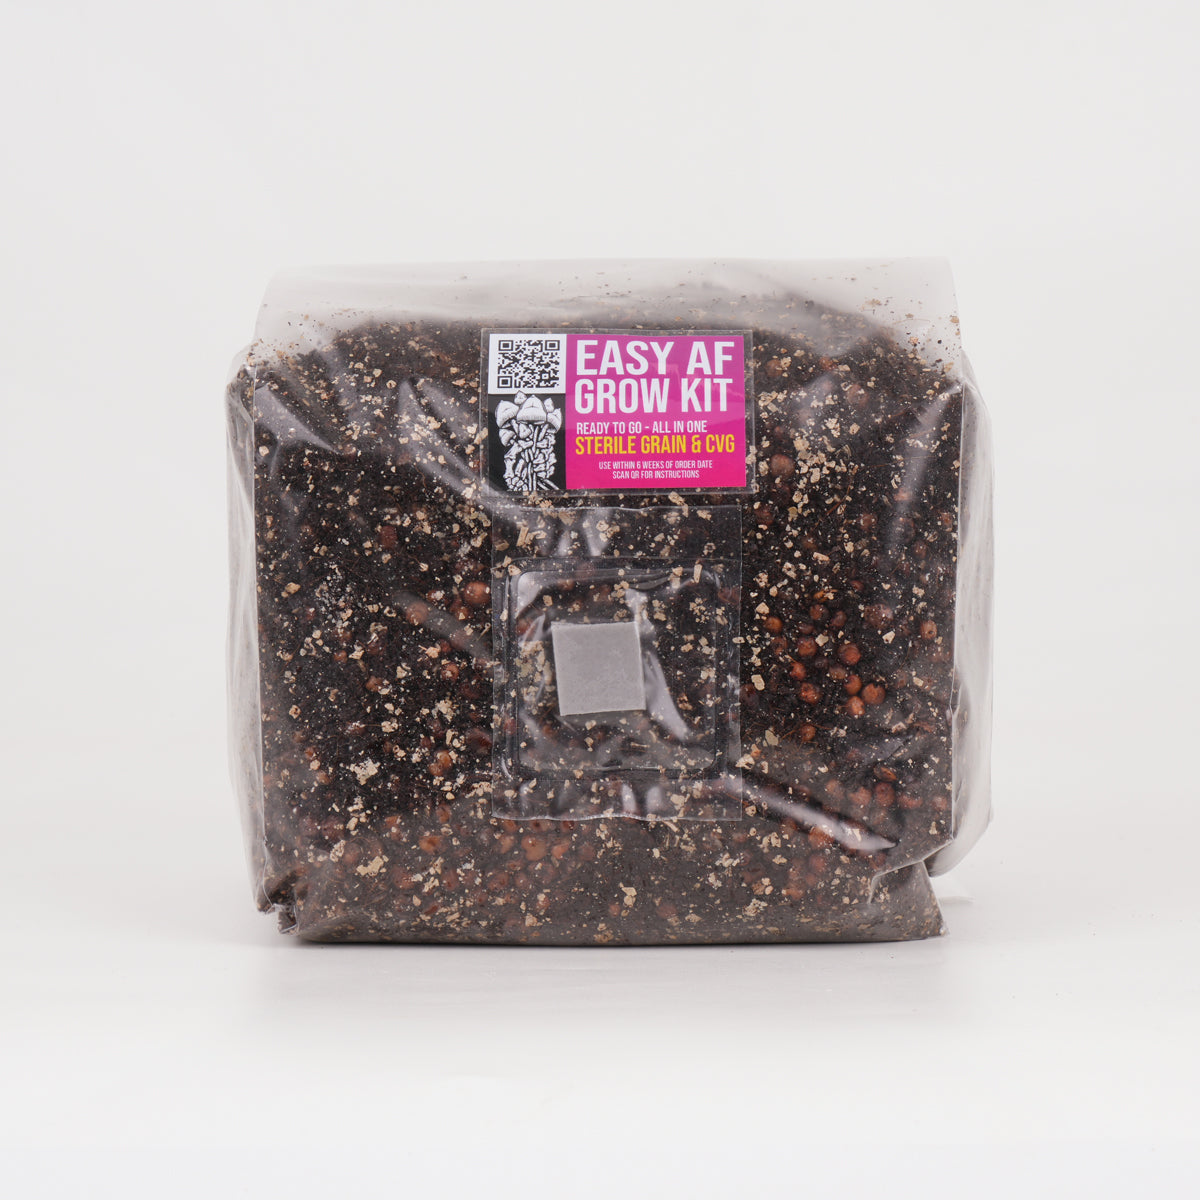
Easy AF Mushroom Grow Kit
First off, thanks for choosing MycoPunks! These instructions will help you get the most out of your easy AF mushroom grow kit.
Stage One: Inoculation & Incubation
Step 1: Clean surfaces
Using 70% isopropyl or surface bleach spray, wipe down your work surface.
Spray onto a paper towel rather than spraying directly on to the surface.

Step 2: Wipe the injection port
Using the small wipe included in your kit, wipe down your injection port.

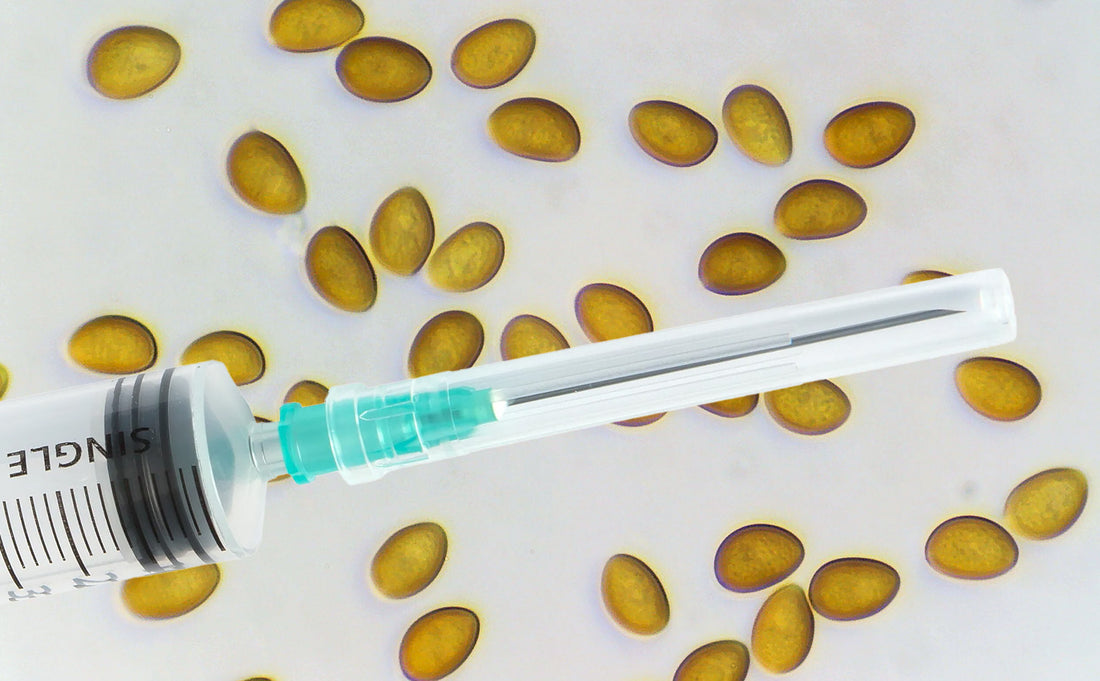
Step 3: Inoculation
Carefully remove the lid of your syringe and push the needle through the injection port.
Inject 3-4ml spore solution or 5ml liquid culture.

Step 4: Find a warm spot (20-25c Temp)
Now we let our mycelium grow. Incubate your bags upright without obstructing the filter.
Try not to disturb the bag, let the mycelium consolidate and start to grow. Don't use a heat mat - use ambient heat only!
Stage Two: Patience...

How long is this gonna take?
Hardest part for most of us is the waiting around. Maybe rewatch Sopranos or something or write a nasty letter to your local MP?
Don't mess with the grain, leave it be.
If you used spores...
Spores need to meet up and germinate before they start to throw ropes forth into your grain bag.
Expect around 14 days before first signs of mycelium. Could be longer!
If you used Liquid Culture...
You legend! Most of the time, you should see some growth pretty quickly (depending on species/culture quality). It's already growing so it's quicker.
Expect from a few days to 10 days.
Stage Three : Break and shake

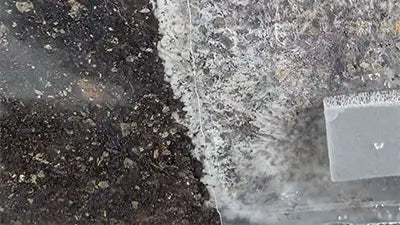
Step 5: 20% colonisation
When your grain looks around 20% colonised you can speed up the process by redistributing that mycelium to the rest of the bag.

Step 6: Draw in air
Carefully (don't damage the bag), pinch the bag from the back and front just below the filter and pull the bag apart to draw in air through the air filter. This will give you room to mix.

Step 7: Break and shake
Carefully (don't damage the bag), but firmly, break up the colonised grains until they are all separate, then shake the bag up to mix it all together.
Step 8: Back into incubation (20-25c Temp)
Now we wait until the kit is fully colonised.
This stage takes around 4-6 days if you mixed your bag very well.
Choose your path:

SIDE FRUITING
Applies to:
- Oysters
- Lions Mane
- Speckled Chestnuts
- Pioppino Mushrooms (They can be top fruited too)

TOP FRUITING
Applies to:
- King oysters
- Experimental jazz mushrooms
- Reishi
- Enoki (can be side fruited too)
Side Fruiting Method

Conditions for fruiting
Place your kit into place with plenty of light (not in direct sunlight) a lower temp (13-20c is ok).

Cut the bag
Make a small X cut the back of your bag with a sharp clean knife the cut should be be around 1cm into the substrate of your kit.

Spray with water (daily)
Give your bag a spritz with a water spray and each morning until you see pins (tiny mushrooms) starting to form.
Top Fruiting Method

Cut the bag
Cut the top off your kit at the soil level and put an elastic band around the top of the bag.

Fruiting tent
Place your kit inside the larger bag fold down the top twice and use the paper clips to seal everything closed.

Conditions for fruiting
Place your kit into place with plenty of light (not in direct sunlight) a lower temp (13-20c is ok).

Spray with water (daily) and give fresh air.
Give the walls of the larger bag a spritz with a water spray and each morning until you see pins (tiny mushrooms) starting to form.
I am so proud of you
Therapeutic fungi
The best time to harvest is when the veils are starting to break on the caps and the gills are visible. After this point spores will start to drop onto your mushrooms and can make for a less aesthetic harvest.
Lions Mane
You should harvest lions mane before it starts to yellow. The growth will stall and the spines will lengthen, this is a good time to harvest.

Oysters
Generally ready to harvest when the caps start to curl up at the edges.
King Oysters
Depending on the variety of oysters, typically they are ready to harvest when the caps measure around 4-6cm across.
Need support along the way?
Things don't always look exactly as expected, if you want some advice or second opinions on anything at all, you can get help from our team and the community!