


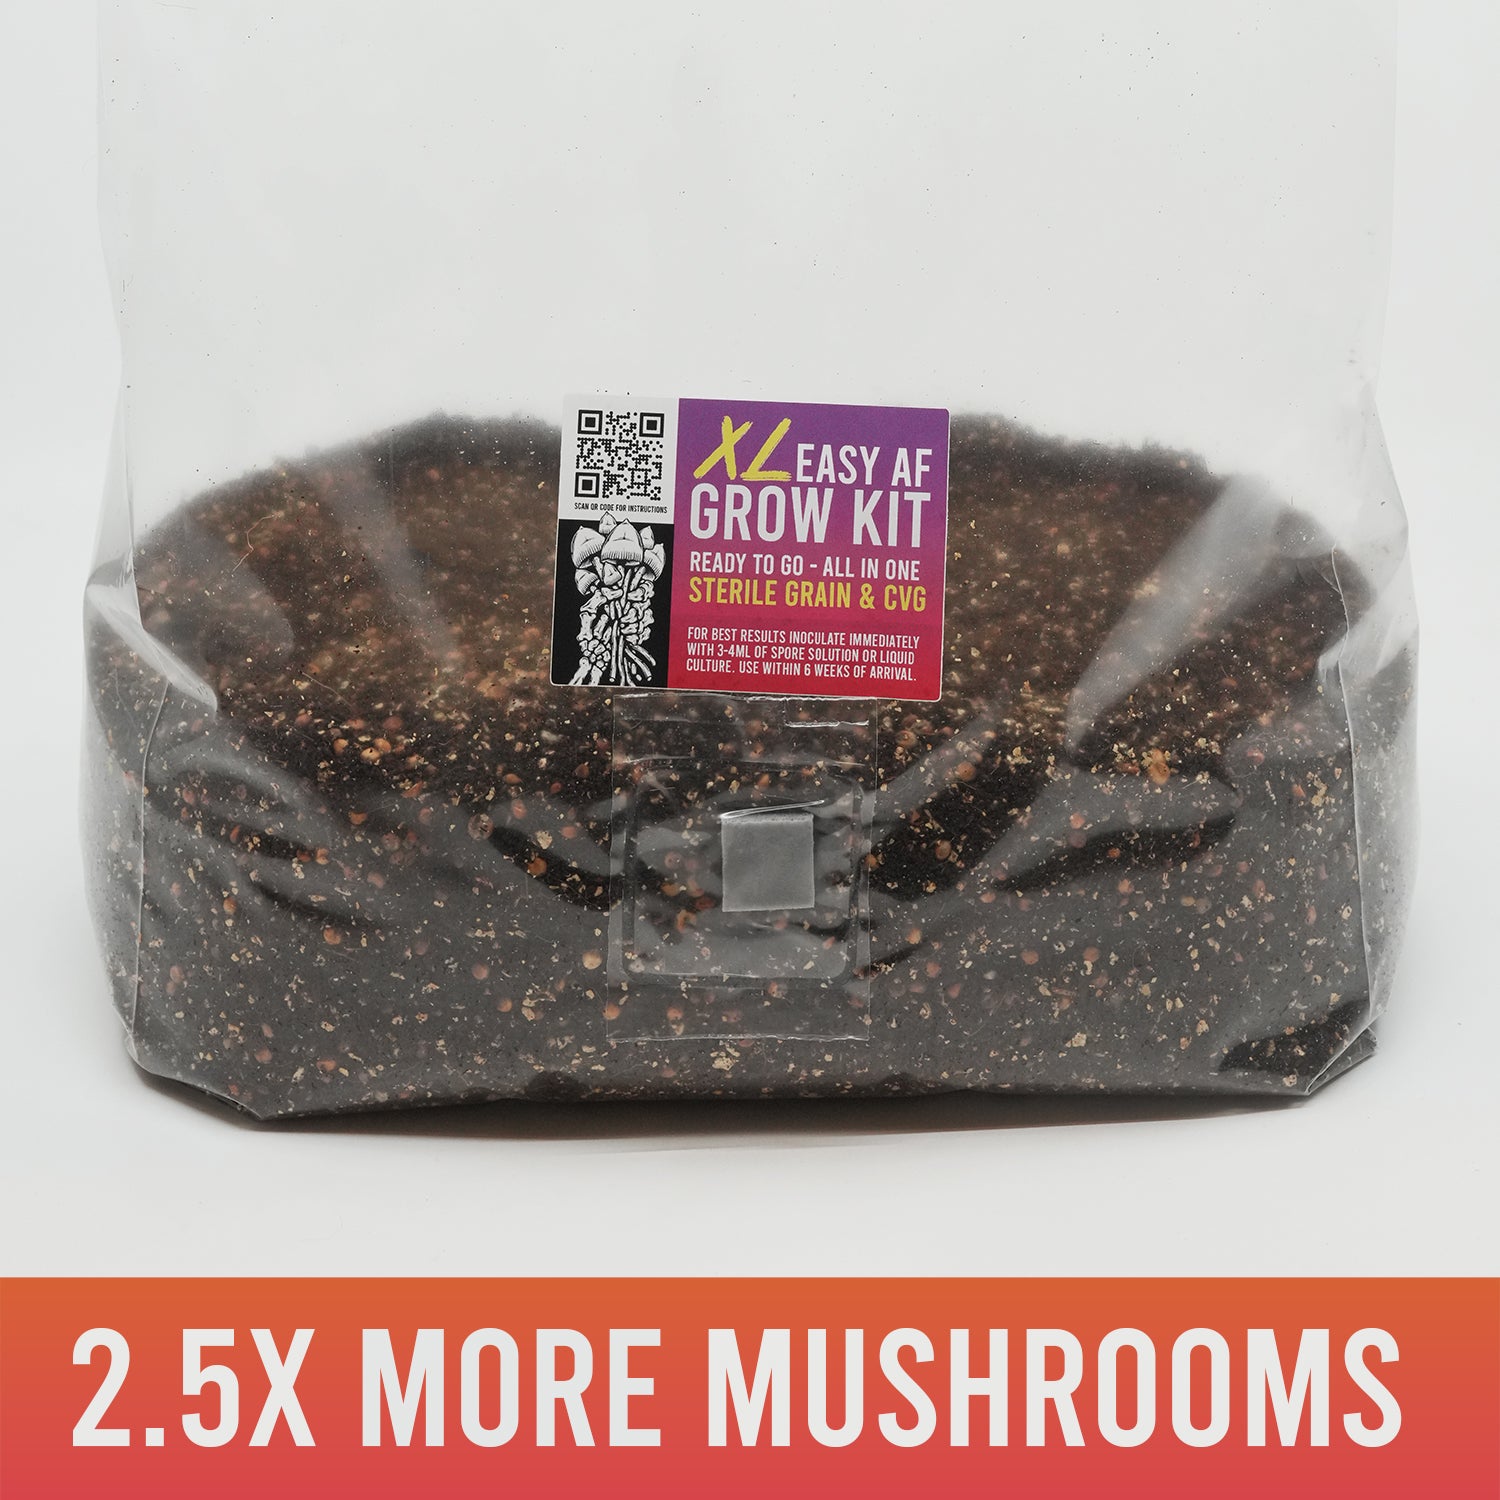
XL Easy AF Mushroom Grow Kit
First off, thanks for choosing MycoPunks! These instructions will help you get the most out of your XL grow kit.
Stage One: Inoculation & Incubation
Step 1: Clean surfaces
Using 70% isopropyl or surface bleach spray, wipe down your work surface.
Spray onto a paper towel rather than spraying directly on to the surface.
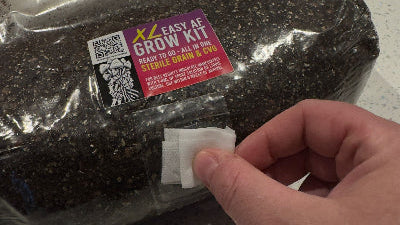
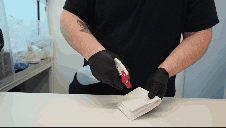
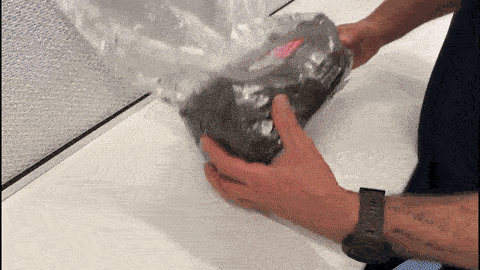
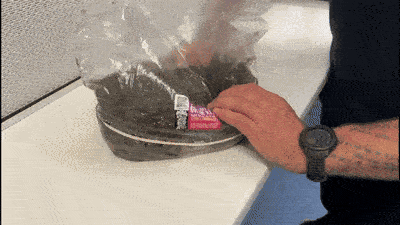
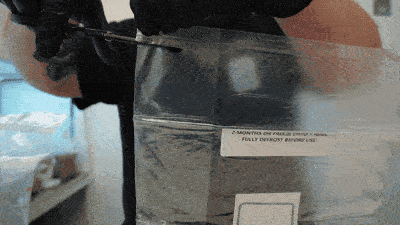
Step 2: Wipe the injection port
Using the small wipe included in your kit, wipe down your injection port.
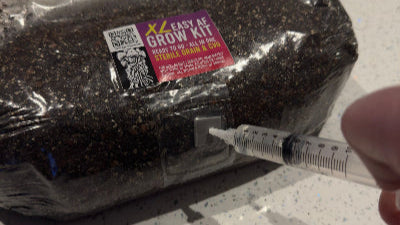
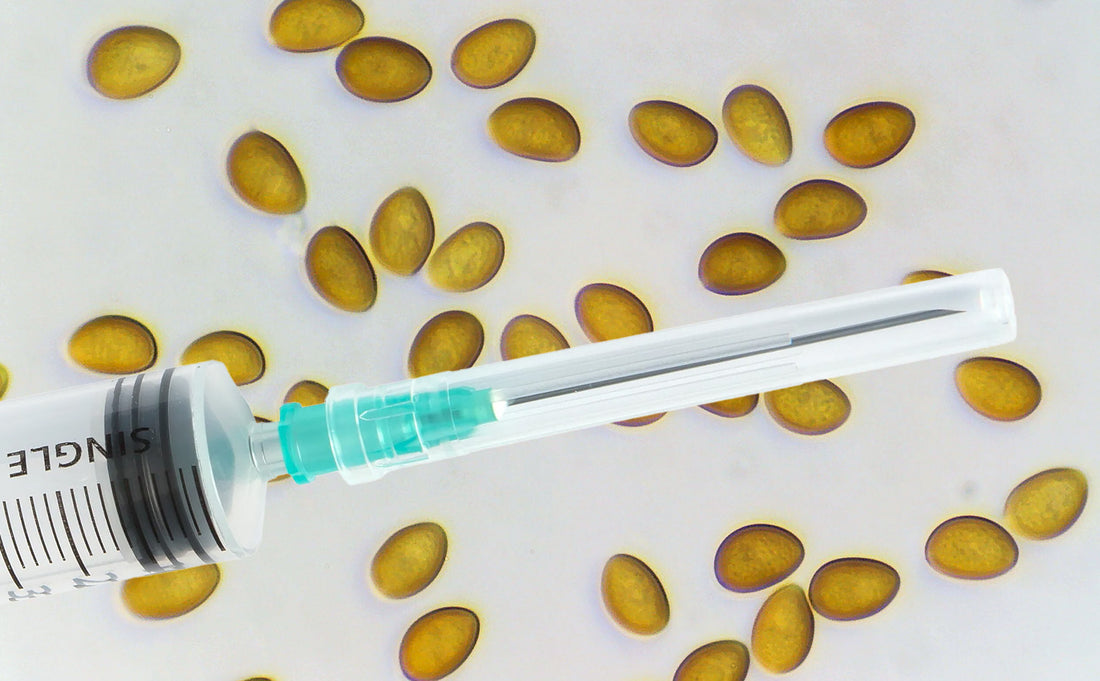
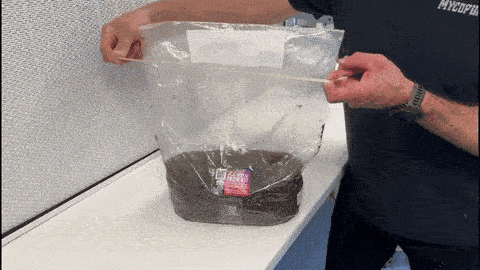
Step 3: Inoculation
Carefully remove the lid of your syringe and push the needle through the injection port.
Inject 3-4ml spore solution or 5ml liquid culture.

Step 4: Find a warm spot
Now we let our mycelium grow. Incubate your bags upright without obstructing the filter.
Try not to disturb the bag, let the mycelium consolidate and start to grow. Don't use a heat mat - use ambient heat only!
Stage Two: Patience...

How long is this gonna take?
Hardest part for most of us is the waiting around. Maybe rewatch Sopranos or something or write a nasty letter to your local MP?
Don't mess with the grain, leave it be.
If you used spores...
Spores need to meet up and germinate before they start to throw ropes forth into your grain bag.
Expect around 14 days before first signs of mycelium. Could be longer!
If you used Liquid Culture...
You legend! Most of the time, you should see some growth pretty quickly (depending on species/culture quality). It's already growing so it's quicker.
Expect from a few days to 10 days.
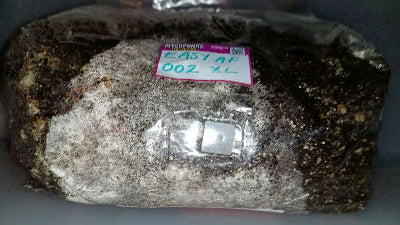
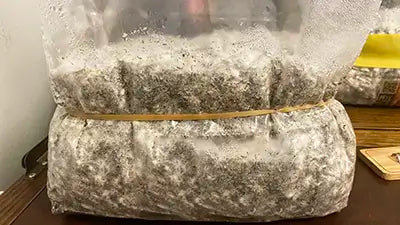
Step 5: 20% colonisation
When your grain looks around 20% colonised you can speed up the process by redistributing that mycelium to the rest of the bag.
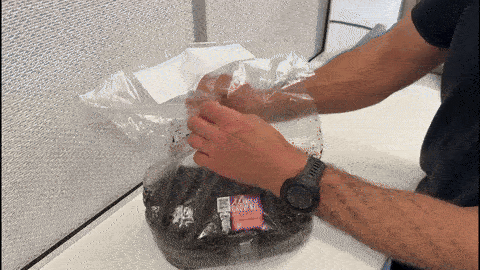
Step 6: Draw in air
Carefully (don't damage the bag), pinch the bag from the back and front just below the filter and pull the bag apart to draw in air through the air filter. This will give you room to mix.
Step 7: Break and shake
Carefully (don't damage the bag), but firmly, break up the colonised grains until they are all separate, then shake the bag up to mix it all together.
Step 8: Elastic Band
Stretch the elastic band over your bag around 1-2 inches below the surface of the substrate. This discourages mushrooms from growing on the sides of the bag.
Step 9: Tamp me, daddy
Gently flatten out the substrate surface using your hands (outside of the bag) to maximise the surface area available for mushroom growth.

Step 10: Back into incubation
Now we wait until the kit is fully colonised.
This stage takes around 4-6 days if you mixed your bag very well.
Stage Five: Fruiting Mushrooms!
Ready for fruiting!
When your substrate has fully colonised we are ready to initiate fruiting of the mushrooms!
Keep your bag fully extended upright with the paper clips on with the white filter patch free of obstructions.
This stage is just about maintaining good environmental conditions inside the bag.
Step 11: Open your bag
Cut off the top of your bag, trying to keep the cut level with the seal.
Open the bag to introduce some fresh air and let that mycelium know it's time for mushroom production!

Step 12: Paperclips
Fold down the bag once and use paper clips to lightly seal the bag.
Your substrate bag might have the new long horizontal white filter.

Step 13: Fruiting Conditions
Bring your bag out in to indirect light (on a shelf is fine).
Room temperature is fine in the UK & Europe during mild months.
Once per day open the bag to introduce fresh air.
There should be condensation on the inside of the bag, if it's dry in the mornings mist the inside of the bag with some water.

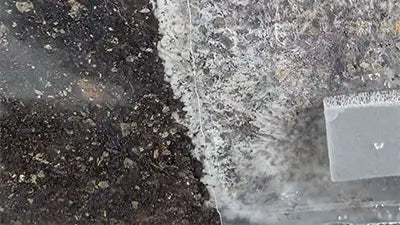
Step 14: Surface Conditions
Photo above shows nice conditions for therapeutic mushrooms.
The little white dots are called hyphal knots, these will change into little mushroom primordia and then into mushrooms.
Once you see the hyphal knots, in around a week you should see mushrooms growing, they'll start off small but very rapidly increase in size if all is well.
You've grown your own mushrooms!

Check out these king oysters one of our customers grew!
Need support along the way?
Things don't always look exactly as expected, if you want some advice or second opinions on anything at all, you can get help from our team and the community!
